Source 2 Blender Tutorial #2: Exporting animations
DER
Intro
In this tutorial you will learn how to export animations from Blender to Source 2. I recommend you read part one of this tutorial series before continuing as a lot of the steps for exporting and importing are the same.
Exporting
Source 2 requires a reference pose in order to play animations correctly, this guide will show you how to create one.
Reference pose
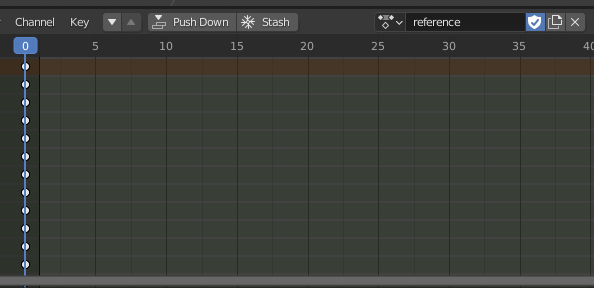
To create one, select your skeleton, go to pose mode, select all bones, open the action editor, create a new action by pressing the duplicate button, change the action name to reference and press the shield button to create a fake user, this prevents blender from deleting this action if it's not being used. Delete all the keyframes except the one at frame 0.
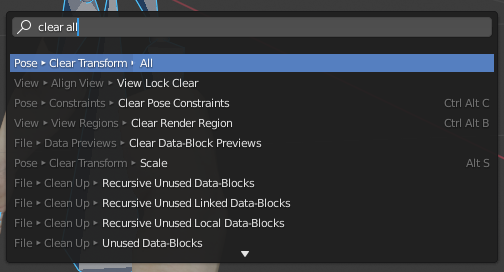
Now we need to reset the position of all bones, press F3 to open search, (or space if that's your space action) search for "Clear Transform All", press enter.
Press I, and select "Location, Rotation & Scale", now you have a reference pose.

Exporting model
Go back to object mode, select your mesh and skeleton and follow the steps for exporting in part one of this tutorial series.
Exporting animations
Source 2 requires exported animations to be in separate files, exporting them one-by-one would be tidious, so I created a script for batch animation exporting. Download it by pressing the "Raw" button, then hitting Ctrl+S. Make sure the extension is .py and in bottom right of the file save window it says "All files".
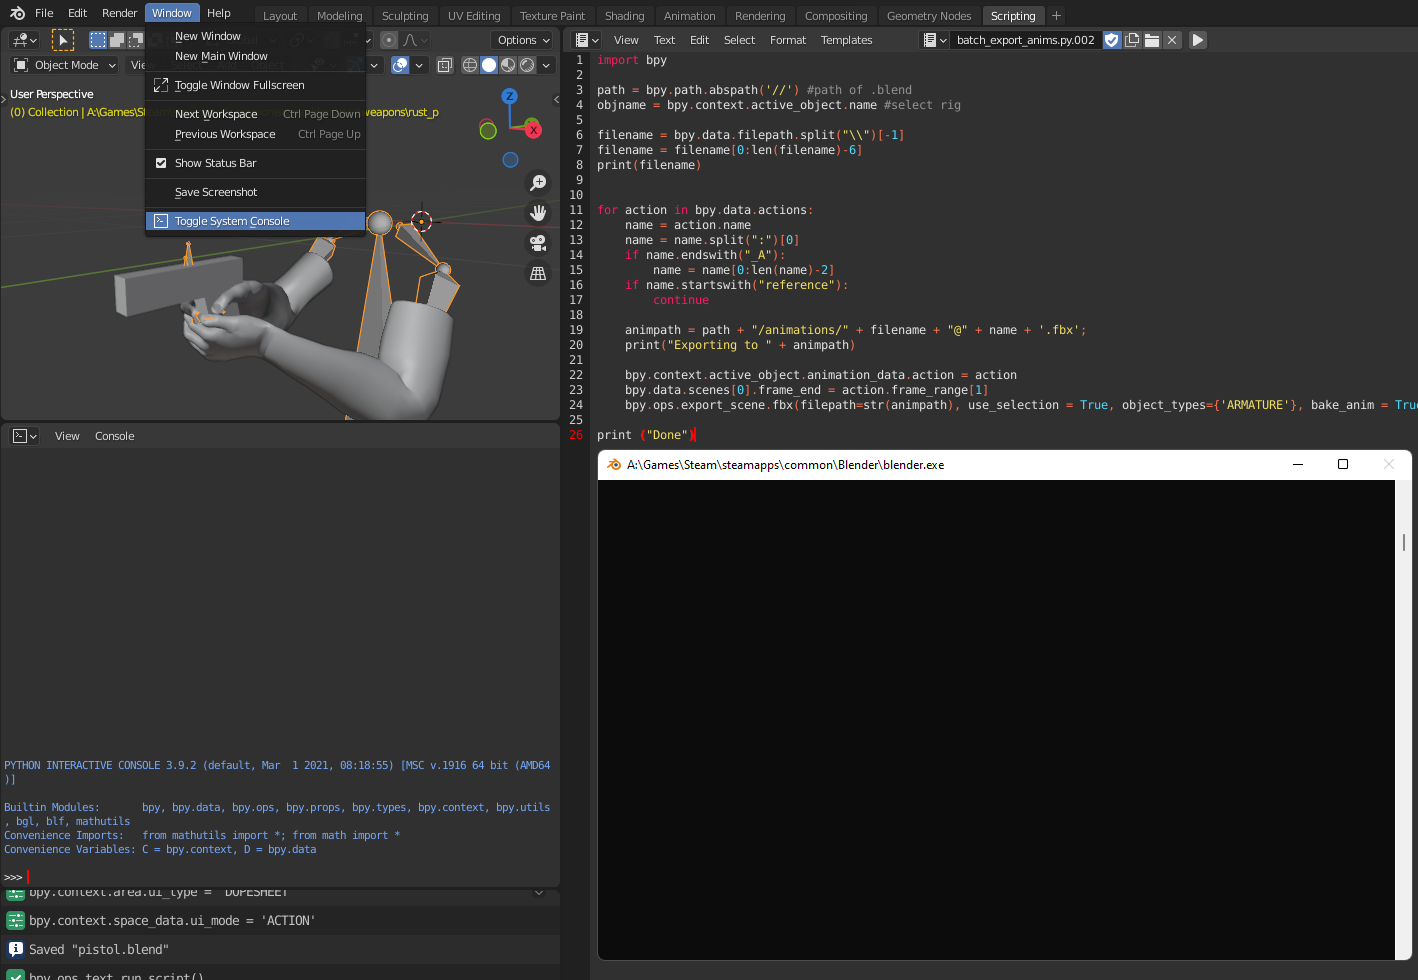
In Blender go to the "Scripting" workspace at the top, press the folder icon next to the file selector in the text editor and open the saved script.
Open an external console to see if there's any potential errors by clicking Window > Toggle System Console in top left.
Now select your skeleton and press the play button next to the script file name. The script will create a folder called animations next to your .blend file, inside it will be all animations with the following file name structure: {your .blend file name}@{action name}.fbx, e.g.
pistol@reload.fbx. Move these files to your addon folder where you exported the model in reference pose.
Importing animations
Now that you have your animations exported, you can import them into Source 2. Open your model in ModelDoc and press the "+ Add" button, then search for "Add Simple Animations...", select all your animations and compile the file.
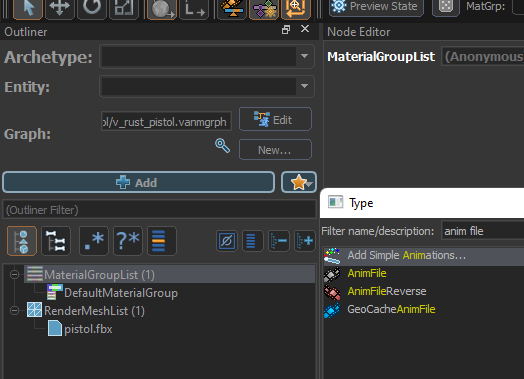
Now your model will have all the animations, you can preview them by selecting them in the node list and pressing the play button in bottom right.
The end
That's the most important parts of importing models from Blender into Source 2, I hope you found this guide useful. If you have any questions or comments, feel free to contact me on Discord (Ryhon#3481) or email (ryhon@ryhn.link)